Table of Contents
Have we notified you that your platform is active and now you don’t know where to start?
Take our training course where I show you all the features of the platform by clicking here. You will be able to follow again only the parts that interest you most.
Alternatively, I indicate below what are the first steps that most of our customers (who do not use particular external management systems) take on Spoki.
Create contact lists #
- Create an excel file with all the information you intend to upload to Spoki for each contact e.g., first name, last name, email. If in addition to the traditional fields (first_name; last_name; email and phone you need to import other fields into the master file follow the instructions here).

- Use the Manage CSV tool on Spoki to transform your excel file into a csv file with the features provided by Spoki for importing files. This step is mandatory (see Manage CSV ).
- Upload to Lists the CSV file downloaded from Manage CSV (see Lists).
Create the message to send to your contacts #
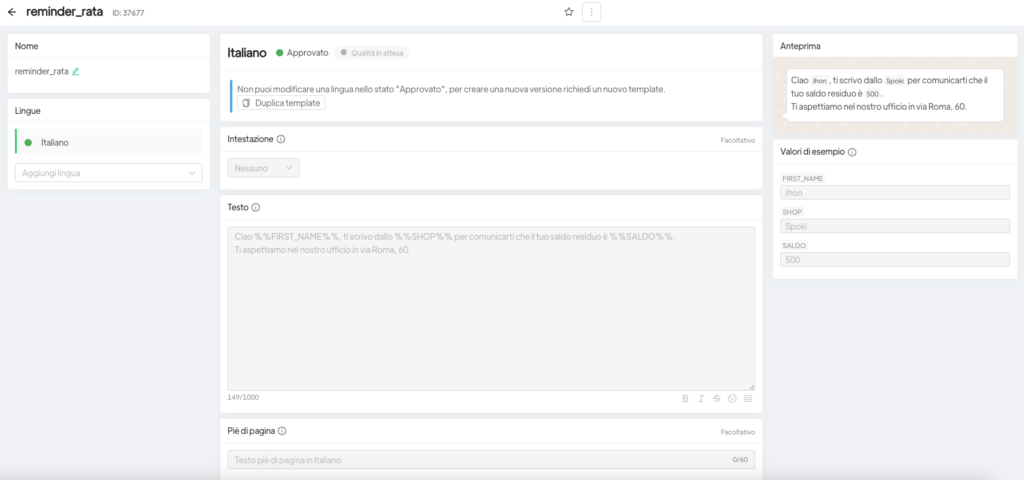
- Create the template with the dynamic fields you intend to populate in the message (see Template).

Wait for template approval before scheduling the submission.
Create automation #
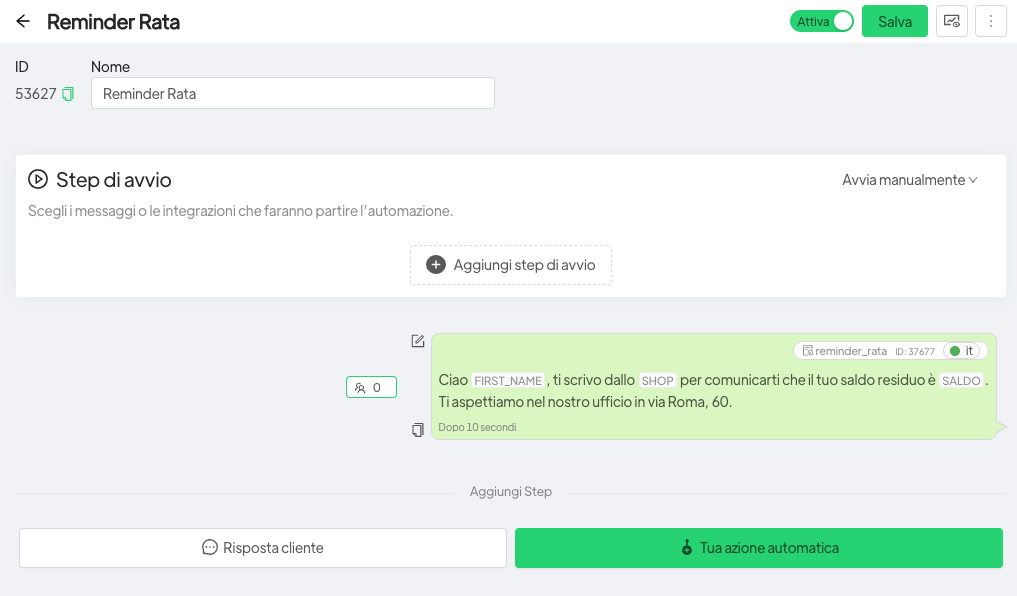
- Create the automation by entering the template approved by WhatsApp (see Automations).

Create the campaign #
- Set the campaign (see Campaigns) to start on the day and time you prefer.

See our article on the strategies mainly used on Spoki by clicking here.
In order to prevent Whatsapp from blocking your account due to reports received from your contacts, follow the instructions here.


