In the Lists menu, it is possible to create Lists of customers that will be subject to bulk messaging.
From the menu Lists >> New
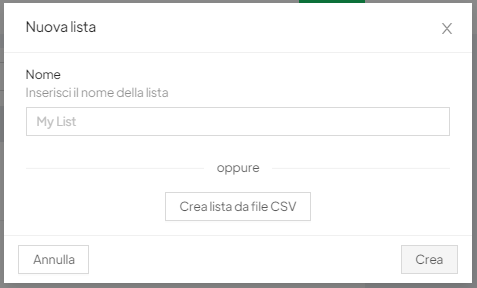
You can create a new list from a CSV file to import, or you can create a list that includes a list of clients already surveyed within the platform. Sometimes it is useful to create empty lists, which will be populated directly from customer interaction to sent messages by adding the “add to list” functionality within automation. See the Automations section.
In the first case it will be sufficient to simply upload the previously checked CSV file via the Upload CSV after clicking on New, while in the second case it will be necessary to give the list a name and by clicking on ‘edit’ it will be possible to select the customers already registered in Spoki that you wish to add to the new list.
At the top of the screen you can change the name of the list and see the number of contacts placed on the list.
In the bottom section, however, the left side shows all the contacts in Spoki’s “Contacts” menu. The right side shows the contacts associated or to be associated with the list.
Specifically, through the use of filters, or by simply selecting contacts on the left side of the screen, one can define the contacts to be added to the list by simply clicking the green arrow. Warning. Applying the filter will display only the first 100 contacts, you need to scroll down and click on “load more” and return to the top by clicking “select all.”
In case you want to remove some contacts from the list, you can do the reverse operation by selecting the list contacts on the right. Moving them with the red arrow to the left will remove them.
Once a client is assigned to a list, it will be possible to remove it from the list or add it to another automatically directly within the automations. (See Automations)
It is also possible to Add or Remove tags or Add or Remove Operator from a list using the buttons at the bottom right of the following image.


